Friday, October 28, 2011

On the road again...

Last night I had to make a choice. It was one of those life choices that most women have to grapple with at one time or another. It was tough, but sometimes you just have to grit your teeth and make the hard decisions.

Look, I loved each of them. Each one was unique and filled a special place in my heart. They made me feel pretty and in my own way I needed each one.

But my suitcase was full.

Five pairs of shoes for a five-day trip just wasn't going to happen.

I am leaving next week to teach for "Weekend with the Wiremasters." Yes, I have kits and tools and jewelry to pack. I have to wrangle soldering set-ups in my car. I have to find that class sample that I decided to wear and then tuck away in a safe place so I could find it later.

But come ON. The real problem that I grapple with before I go out on a teaching gig is "What am I going to wear and how many shoe changes can I fit in my suitcase?"

Look, its a precarious balance between comfort and style. I gotta be mobile in class. I have pre class set up, the actual class itself and the immediate after party (usually held with chilled glasses and savory snacks) so this shoe choice needs to last all day. Comfort and cute don't always go hand-in-hand.

You'd think I could just find a nice neutral shoe. One that would go with everything. I could just slip it into a single shoe bag and tuck it in and go.  Nope. I like color. I love red shoes and blue shoes and shoes with flowers and shoes that have straps and shoes that tie.

So last night I lined 'em up and culled the heard. It was hard. I may have wept a silent tear, but I did it and I am proud. Three pairs are making the trip and one of those pairs are going on my feet, so I just need room for two.

(Okay, humor me. I know three pairs of shoes may STILL be a little excessive for a five-day trip, but let me have my moment.)

If you don't have plans for November 3-6 and want to have a super fun filled metals and wire weekend, Wiremasters is still accepting signups. Check out my classes here, and details about the whole event here.

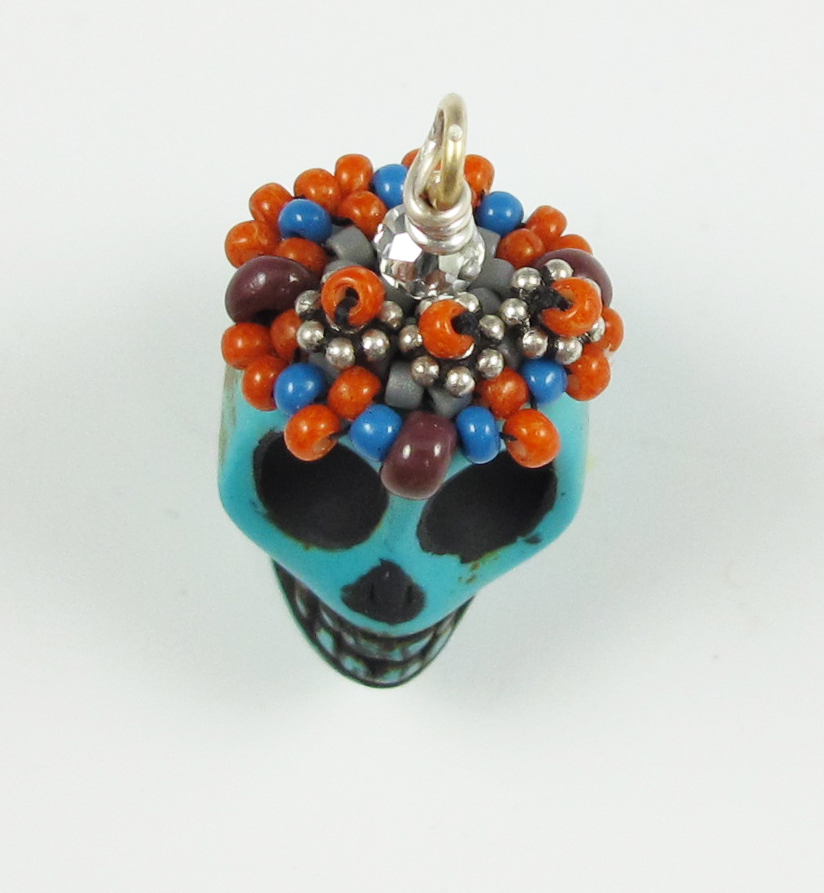
Samples from my Crystal Frame Ring class.

The weather promises to be beautiful and they have a lovely pool. 

Whoops. Make that four pairs. I need flip-flops for the dash to the hot tub.

Now that the tough decisions are over, I can get to assembling kits and printing handouts. In my slippers.

Friday, October 21, 2011

Dia de los Muertos Necklace, Completed!

TADAH!!

Click on each photo to enlarge.

I love the way it turned out. You may remember the skull components I made from this post. I used howlite and coral beads (both dyed or "enhanced" as we say in the biz.) I also added a splash of green by tossing in some vintage glass leaves.


 The clasp was one that I had in my stash. Lovely vintage glass and sterling silver. It was waiting for the perfect project. I got it years ago from my dear friend Jess from Jess Imports. (The best source for unique and fancy clasps in my humble opinion. Join their email list to be notified when new stuff goes up online. They sell out FAST!)

When I tackle a multi-strand piece, I don't think too far ahead in the future. I just take it step-by-step as it can be a bit daunting. I usually don't pick the clasp until the piece is strung, but in this case I used the clasp as my primary source of inspiration along with the skulls.


 I began by "auditioning" my beads like I did in this Bead Soup piece. Then I started stringing. I cut a 20" piece of SoftFlex and got to work. (My favorite stringing material. Not a paid endorsement, just deep love from using it since it came out.)

Since I knew I wanted a multi-strand piece, and I had five finished skulls, I had the rough idea that it would end up being a 5-strand necklace. I didn't pre plan much else. I strung the first strand with the red skull and went from there.

As I was stringing along, I realized that the piece need more pops of color so I wire wrapped the vintage glass leaves and strung them next to each skull. The 4mm round beads bump up next to them and help them to hang nicely.


I checked the length of this first strand and added the length of the clasp and crimp closures and measured it against where I wanted it to sit around my neck. (First securing the ends of the strand by closing them with clear tape.) That gave me a rough idea of how long to make the remaining strands.

I kept stringing, cutting a new piece of SoftFlex and making each strand one at a time. I planned the layout as I went along, adding a large bead here, a stack of coral beads there. Placing the skull pendants spaced apart so they wouldn't knock against each other. I just let it evolve.


To make the strands sit nicely on the single loop of the clasp, I tapered each with two 4mm beads. I crimped one strand at a time to the clasp. I sized each strand as I went along, checking how it laid against the previous one.

I made slight adjustments by taking off the two 4mm beads and adding another bead or two to make the necklace slightly graduated. I tried the necklace on each time I added a strand to make sure the fit was right. (Think of this part like fitting a custom garment. You wouldn't have a fancy dress made without trying it on several times to make sure the fit is perfect. Same thing with a fancy necklace. It's a couture moment.)


To make sure that the closure was as pretty as it could be, I used crimp covers. If you haven't heard of them, they are 4mm metal beads with a split down one side. They close over crimp beads after they have been attached and hide them. I use the top indentation in my crimping pliers to gently (gently!) close them around the crimp.


I also used wire guards around the loop of the clasp. They add strength and have the added bonus of really creating a finished look. The SoftFlex strings right through them and is mostly hidden from view.


And there she is. I took her out for a test wear and the fit and feel are perfect. Viva la vida! A perfect necklace for Dia de los Muertos!

Saturday, October 15, 2011

Earrings on the Fly

I made some pretty enameled wings the other day.


And used them as the focal for this pair of earrings.

 I kind of love them.

Have a great weekend all. I am off to sew up a storm. (Or maybe a dolly or two.)

Monday, October 10, 2011

Dia De Los Muertos

I became aware of Dia de los Muertos or Day of the Dead during the time I had my bead store in the Mission District of San Francisco. It was a big celebration that included a procession through the streets ending at a city park where people set up their own altars in memory of their departed loved ones.

As I was cruising around the internet I found Chris Franchetti's Beaded Skull tutorial. It inspired me to make this group of Day if the Dead Calaveras below.

Click on picture to enlarge.

I love them so much that I am working them into a necklace. I'll share that soon. But for now here is a rundown of what I did.

I had these skulls in my stash. (No surprise there... have you seen my bead collection? Come over, I'll show you.) You can find them here, and here on Etsy. I had some tiny aluminum roses in my stash (also from Etsy). You can find them here.

I painted the mouths and noses with some black acrylic paint, glued the roses in the eye sockets of three of them and painted the others.

I followed Chris's tutorial for stitching the crown. I added three sterling silver daisy spacers anchored in place by a seed bead on the top of each one for extra embellishment. I omitted making the loop out of seed beads and made some balled headpins from 20-gauge sterling silver wire to mount them on instead. Before I wire wrapped them closed I added a crystal bead for a bit of sparkle as well as to help secure the crown in place.


And that was it. The necklace is coming along. I'll share it with you soon.

Saturday, October 8, 2011

From the Archives

I have been making jewelry since 1992. That's almost 20 years. And that's a lot of jewelry. I have an archive of designs that I have been sorting out lately. It is interesting to the the ebb and flow of how my designs have evolved.

Many of these pieces rarely see the light of day, so I thought I would add an occasionally repeating feature to the blog called "From the Archives." From time to time I'll pull out one of my designs from the past, dust it off and let it shine in the spotlight!

Up for your inspection is a necklace that dates from around 1996. This is a style that I used to teach quite frequently in the mid to late '90's. It is strung on nylon thread and features a carved wood centerpiece. The beads are a mix of vintage glass, semi-precious and vermeil. The back portion is made up of dyed resin beads meant to imitate amber and the clasp is a brass button and size 8 seed bead loop.

Click on each photo to enlarge.


Off to try it on! Enjoy.

Tuesday, October 4, 2011

Fall Challenge Completed!

I love fall. I love fall colors. And I love the beads from Michelle Mach for her Very Vintage Fall Challenge.


This photo is from her blog. I was so excited to get started on my project that I did not take any snaps of my beads in their loose and free state.

So this is how it happened. My beads arrived in early September. Of course September is the busiest month ever (aren't they all?) and I kept saying to myself "I have GOT to get started on that blog challenge." Then a week would pass and again, "I HAVE got to get started on that blog challenge" (different emphasis, same desperation.)

Finally two days ago I got started.

I have had cuffs on the mind lately. Pretty colored leather cuffs. Embellished with a decadent array of all sorts of pretty things. I wish I had...one...of...those...to...WAIT!

(This idea came to me around 2:30 AM on Sunday morning.) I realized in a flash that I had the power to make it happen. I had a stash of leather and leather findings that I bought last year when I was going through my first session of cuff yearning. Somehow I would figure out how to get all of my pretty things from the challenge to stick to the leather. I wasn't so worried how I would do that. I was just comforted by the fact that one of my impulse purchases would actually get used in a project. Then I tried to get back to sleep. Tried being the operative word.

 After a Sunday evening spent arranging, stitching, embellishing, and delightedly trying on and posing in front of the mirror I ended up with a piece that I really, really love.

Click on the photos to enlarge.

There she is in all of her festive fall glory. My new Embellished Leather Cuff. Each component is stitched to the leather using Nymo nylon thread and a size 12 (tiny eye...REALLY tiny eye on that thing) needle. I used everything that was in the kit with the exception of the two lovely Lucite components. I am saving those for another project that I will share later. I added a few beads to the mix from my stash.


I used leather snaps and a decorative crystal rivet on the closure and as a special touch of whimsy (like this thing isn't whimsical enough) I made a tiny felted acorn to fit into the acorn cap component. I also made three little felted discs that I stitched on as flowers in the main design.


This piece is really starting my fall wardrobe off right! Thanks, Michelle for hosting this great challenge. It was a journey in creativity and I made a piece of jewelry that I really love.

Don't forget to visit more splendid fall creations. Here is a list of all the participating designers. I can't wait to see what everyone else made. Michelle is announcing her next challenge in her newsletter. Sign up to be in the loop for next time.

Andrew
The Writing and Art of Andrew Thornton
Cat
Boo Beads
Chris
beadjewelry.net
Cilla
Tell Your Girlfriends
Cyndi
Beading Arts
Cynthia
Cynth's Blog
Dawn
Morning Glory Beading
Donetta
Simply Gorgeous
Heather
As I Bead It
Holly
SilverRose Designs
Kate (that's me)
We Can Make That at Home
Kristina
Wild Roses and Blackberries
Lauren
Laurel Moon Jewelry & Beads
Linda
Lutka & Co
Lisa
Lucid Mood Studio
Lola
Bead Lola Bead
Mary
MLH Jewelry
Melinda
Melinda Orr Metal & Clay Jewelry Designs
Michelle H.
Firefly Visions
Michelle M.
Beads & Books
Salla
Blog by Salla
Shannon
Falling into the Sky
Shay
Shaiha's Ramblings
Shel
MiShel Designs
Shirley
Beads and Bread
Stephanie
Pixybug Designs
Tari
Pearl and Pebbles
Terry
Pink Chapeau Vintage Jewelry
Tracy
The Bead Junkie

Saturday, October 1, 2011

Lambtown!

I am up bright and early this morning. It's a day that is even better than CHRISTMAS!!!

Today is Lambtown in Dixon CA.

I have my packing list and am checking it twice.

Camera? Check!
Sunblock? Check!
Spinning Wheel? Check!
Knitting for world record attempt? Check!

No time to dally. I'll have a full report when I return.

Now it's Lambtown or bust!