Click on each photo to enlarge.
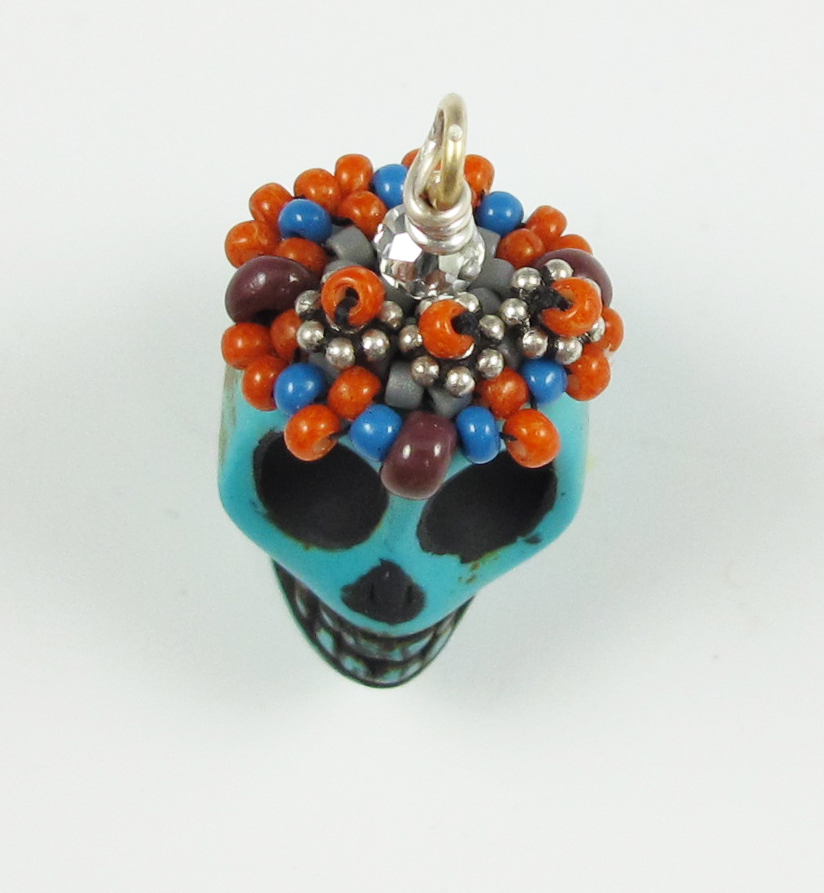
I love the way it turned out. You may remember the skull components I made from this post. I used howlite and coral beads (both dyed or "enhanced" as we say in the biz.) I also added a splash of green by tossing in some vintage glass leaves.

The clasp was one that I had in my stash. Lovely vintage glass and sterling silver. It was waiting for the perfect project. I got it years ago from my dear friend Jess from Jess Imports. (The best source for unique and fancy clasps in my humble opinion. Join their email list to be notified when new stuff goes up online. They sell out FAST!)
When I tackle a multi-strand piece, I don't think too far ahead in the future. I just take it step-by-step as it can be a bit daunting. I usually don't pick the clasp until the piece is strung, but in this case I used the clasp as my primary source of inspiration along with the skulls.

I began by "auditioning" my beads like I did in this Bead Soup piece. Then I started stringing. I cut a 20" piece of SoftFlex and got to work. (My favorite stringing material. Not a paid endorsement, just deep love from using it since it came out.)
Since I knew I wanted a multi-strand piece, and I had five finished skulls, I had the rough idea that it would end up being a 5-strand necklace. I didn't pre plan much else. I strung the first strand with the red skull and went from there.
As I was stringing along, I realized that the piece need more pops of color so I wire wrapped the vintage glass leaves and strung them next to each skull. The 4mm round beads bump up next to them and help them to hang nicely.

I checked the length of this first strand and added the length of the clasp and crimp closures and measured it against where I wanted it to sit around my neck. (First securing the ends of the strand by closing them with clear tape.) That gave me a rough idea of how long to make the remaining strands.
I kept stringing, cutting a new piece of SoftFlex and making each strand one at a time. I planned the layout as I went along, adding a large bead here, a stack of coral beads there. Placing the skull pendants spaced apart so they wouldn't knock against each other. I just let it evolve.

To make the strands sit nicely on the single loop of the clasp, I tapered each with two 4mm beads. I crimped one strand at a time to the clasp. I sized each strand as I went along, checking how it laid against the previous one.
I made slight adjustments by taking off the two 4mm beads and adding another bead or two to make the necklace slightly graduated. I tried the necklace on each time I added a strand to make sure the fit was right. (Think of this part like fitting a custom garment. You wouldn't have a fancy dress made without trying it on several times to make sure the fit is perfect. Same thing with a fancy necklace. It's a couture moment.)

To make sure that the closure was as pretty as it could be, I used crimp covers. If you haven't heard of them, they are 4mm metal beads with a split down one side. They close over crimp beads after they have been attached and hide them. I use the top indentation in my crimping pliers to gently (gently!) close them around the crimp.

I also used wire guards around the loop of the clasp. They add strength and have the added bonus of really creating a finished look. The SoftFlex strings right through them and is mostly hidden from view.

And there she is. I took her out for a test wear and the fit and feel are perfect. Viva la vida! A perfect necklace for Dia de los Muertos!